ADO Authoring
ISAT User's Guide Table of Contents
Contents
ADO Authoring
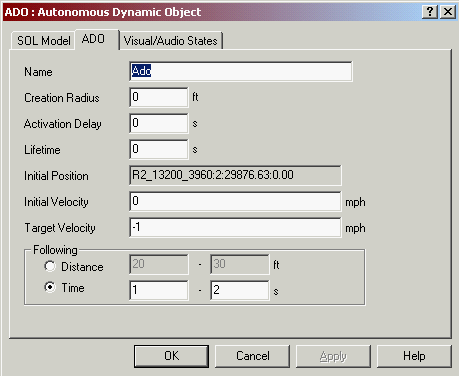
The ADO has several initialization parameters that can be set by the user during scenario construction in the ISAT.
The parameters and their resulting behavior are listed below.
| Initial Velocity | If specified, the ADO is created with the specified velocity. Otherwise, the ADO is initialized with a velocity of 0. |
| Target Velocity | If specified, the ADO tries to achieve this velocity whenever possible. |
| Audio State | When set, the ADO continuously generates the specified sound(s). The sound will only be audible on the NADS. |
| Visual State | When set, the ADO continuously activates the specified light(s). |
ADO dials
The following ADO dials have multiple options, and need a little more in depth explanation.
ForcedVelocity
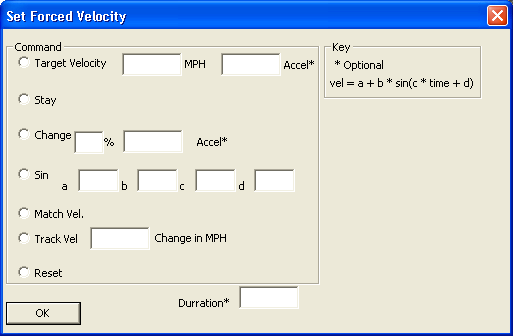
The format of the velocity dial setting has been greatly enhanced, at the same time there is a very big difference between its operation before and after the changes. Whereas before, the dial could be pressed repeatedly, and the new settings would override the previous settings, the current functionality has the dial requiring that once it is pressed, it must be reset explicitly before it can be set again. The dialog in Figure 5-52 can be used to construct the Set Forced Velocity string, it may be necessary to modify the string that it produces. The string provided to the forced velocity dial has the following syntax (any of these styles can be used):
Vel [; Accel] stay
change num [%] [Accel]
sin a b c d
expression
reset
Vel [ [;] AccelToUse]
When using this option, the forced velocity is set to the value specified in Vel. The units are mph. If the optional parameter AccelToUse is specified, the Scenario Vehicle (SV) will reach the new velocity by utilizing an average acceleration as specified in Accel.
Stay
When using this option, the forced velocity of the vehicle becomes the current velocity at the time of the dial press. For example, if the SV is traveling at 57.5 mph and the dial is pressed, then the SV will be forced to maintain that speed.
TOP
Expression
The expression option of the forced velocity dial, set the forced velocity based on a expression. The is useful when trying to create a following event in which the lead vehicle has what would seem to the participant a random speed but would be easily described by a relatively simple equation.
The forced velocity dial has its own syntax, that which is described elsewhere. In the example below, expression denotes the dial is a expression forced velocity, “-1” denotes the length of time is infinite for the expression, and the “%” signs denote the beginning and end of the expression.
expression -1 % 60.0 + ( (3.7 * sin( 50 ) ) + ( 1.85 * sin( 11 ) ) ) %
The expression parser used to parse the expression portion of the forced velocity action is the same as used in the expression trigger, except functions are different. The functions used for the forced velocity are for signal generation. The operators function the same as with the expression trigger.
change num[%] [Accel]
This option allows changing the forced velocity of the SV relative to its current velocity. If the percent sign is used, the first parameter (num) is a percent change relative to the current velocity. If the percent sign is not used, then first parameter is the actual change in miles per hour. In both cases, num can be negative or positive. The optional last argument provides the acceleration by which the new speed should be reached and can be positive independent of the sign of the change. For example, if the SV is traveling at 50 mph and the dial setting is "change –10% 2.5" , then the new forced velocity will be 40mph and will be reached at a rate of approximately –2.5 Gs. The setting "change –10% -2.5" would have the identical effect.
TOP
Sin a b c d
This option allows specifying a forced velocity that is a function of time according to the formula vel = a + b * sin(c * time + d). Parameters a and b are in mph. The value of time is computed relative to the initial dial press. For example, if the dial press with the setting: "sin 50 10 3.14 0" happened at from 90 (3 seconds from the beginning of the simulation) then the speed at frame 91 would be approximately 50 + 10*(3.14 * 0.016) or about 50 mph.
Reset
This option resets the forced velocity of the SV to nothing, in effect removing the forced velocity constraint. Keep in mind that once a dial is set using any other method (i.e., 'stay', 'change', 'sin' or absolutely), then it must be reset before another setting can be applied.
ADO Properties
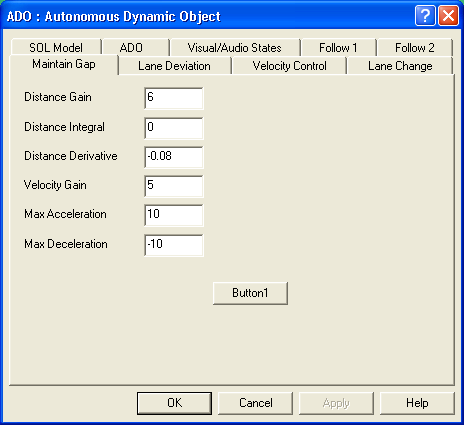
In addition to settings dials, ADO behaviors can be set using the properties tabs. The properties for an ADO are set in the same that most other objects are set using a properties dialog. This dialog is brought up when the ADO is initially placed. After ADO is placed it can be accessed by double clicking on the ADO, or right-clicking on the ADO and selecting settings.
ADO Follow Tab
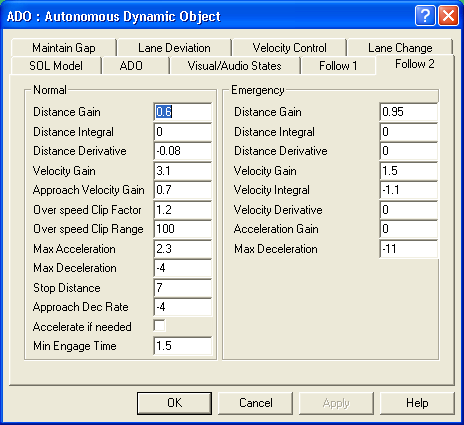
The two ADO Follow tabs are used to set how the ADO follows another scenario element; this could be another ADO or DDO. The TTC Threshold, or Time To Collision Threshold can be used to set how aggressively the ADO fallows. The smaller the numbers are set the more aggressive the ADO is going to behave.
ADO Lane Change Tab
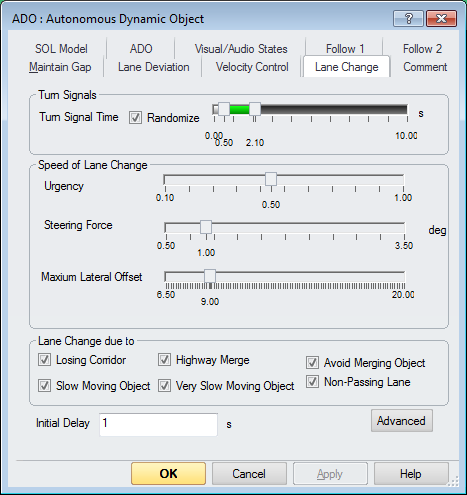
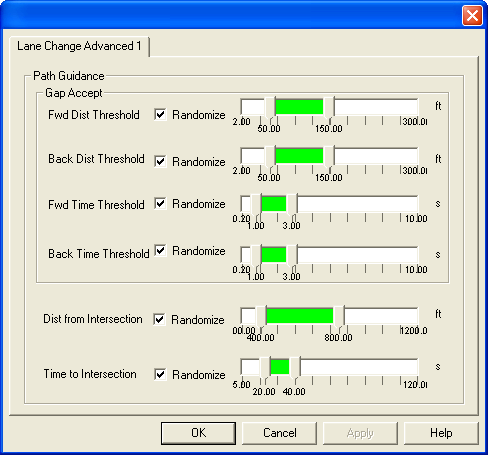
The behavior or ADOs in regards to changing lanes can be set with the Lane Change Tab. These behaviors are the “default” behavior, any “forced lane offset”, or any similar behavior will override these behaviors.
| Turn signal Time | This parameter set how long the ADO will apply the turn signal before turning |
| Urgency | This controls how fast the will try to complete its lane change; lower this value is, the slower it will turn. |
| Steering Force | This controls how fast the can ADO turn its steering wheel during a lane change maneuver, low this number, the slower the ADO will change lanes. |
| Maximum Lateral Offset | The maximum offset effectively control how far the ADO will turn its steering wheel during a lane change. The higher the number here, the faster it can turn. |
| Lane Change due to: | The check boxes here control the reasons why the ADO will choose to perform a lane change. |
